1.28.2013

Just Married Car Decals

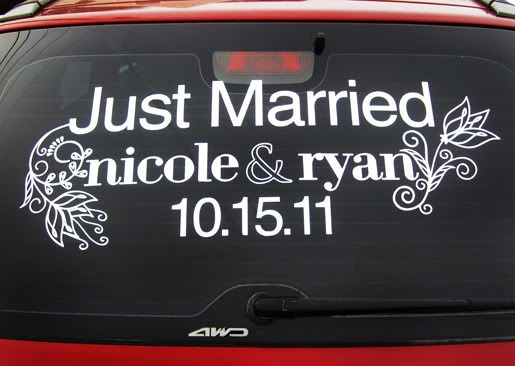
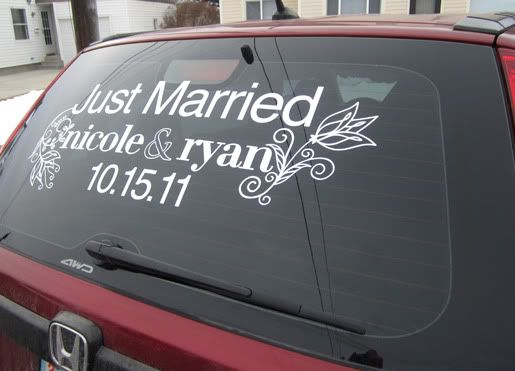
I love summer and I am getting so antsy for it! So, with summer comes wedding season!  This summer I hope to have many more Just Married Signs.  Here is one that I designed a little over a year ago and have never posted pics of it.  Oops. Here is the 'Just Married Contemporary Flowers'.

Photobucket

Here is one of my newest designs. It was designed specially to match my cousin Nicole's wedding invite.

Photobucket

It comes with your own custom info, names and date of course!

Photobucket

You can order your own HERE!

1.18.2013

Tall Scalloped Flowers

I haven't done a post in quite a long time... But, I'm finally finding the time to get back into it.

Now, I never stopped designing and installing vinyl, I just have not had time to put in new products and blog about them in the last year.  I was really focusing the majority of my time in my new business- Snickerplum.  I decided I wasn't ready to stop doing vinyl all together. So,  now I'm going to scale back a bit from Snickerplum and try doing both.  I know, I'm kind of crazy, but I really love both, and they help me to not get too burnt out on one more than the other.

Over the next couple of months, hopefully I can get caught up on showing you all some of my newest designs from the last year.

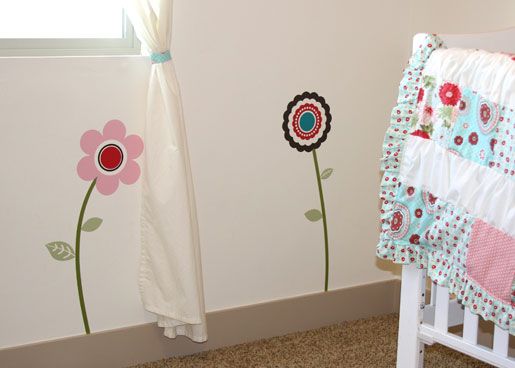
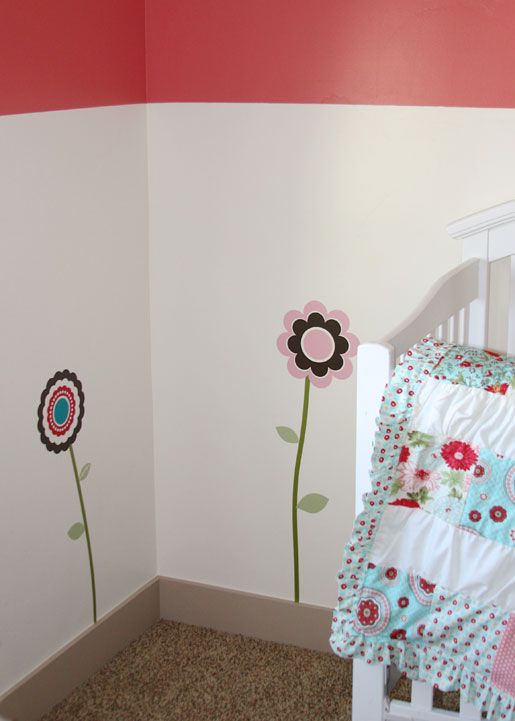
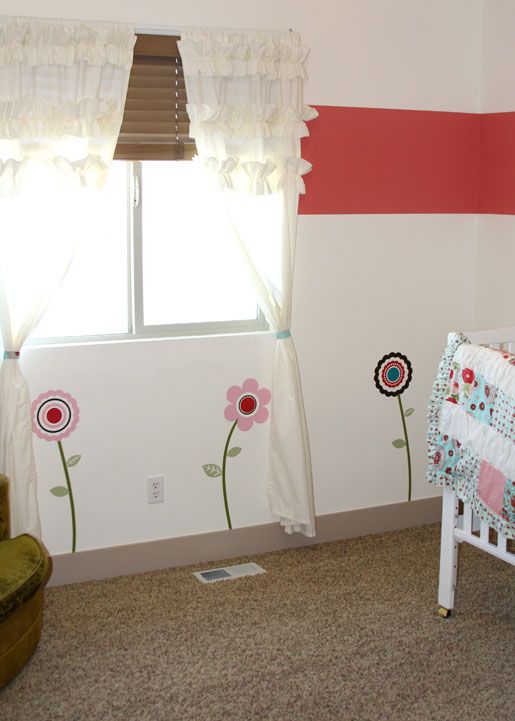
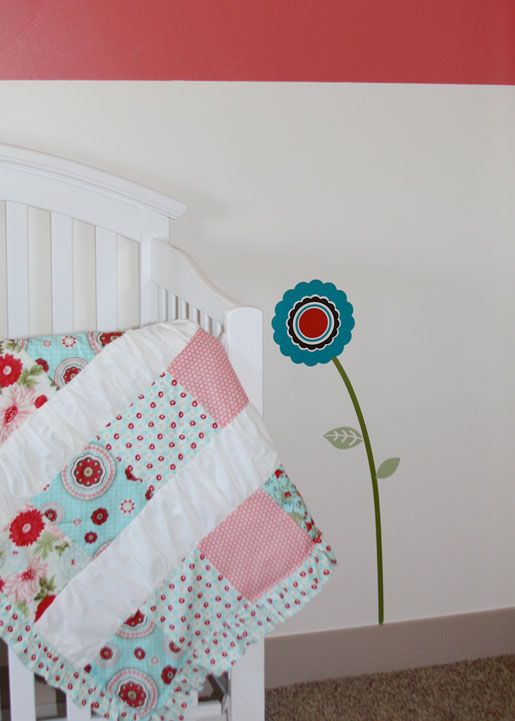
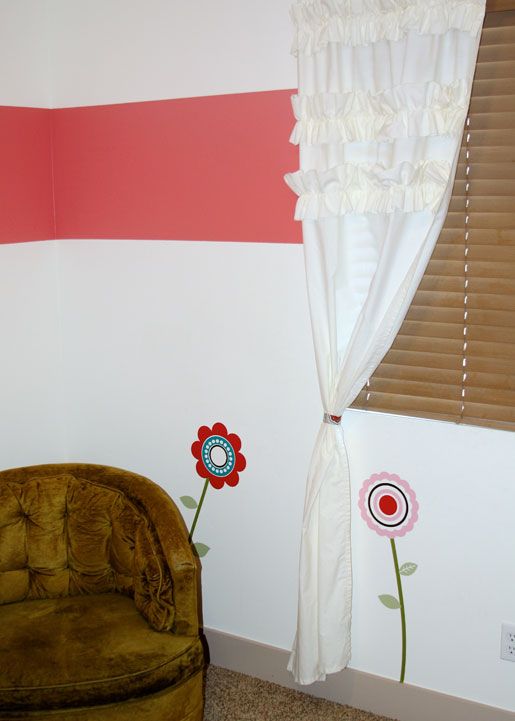
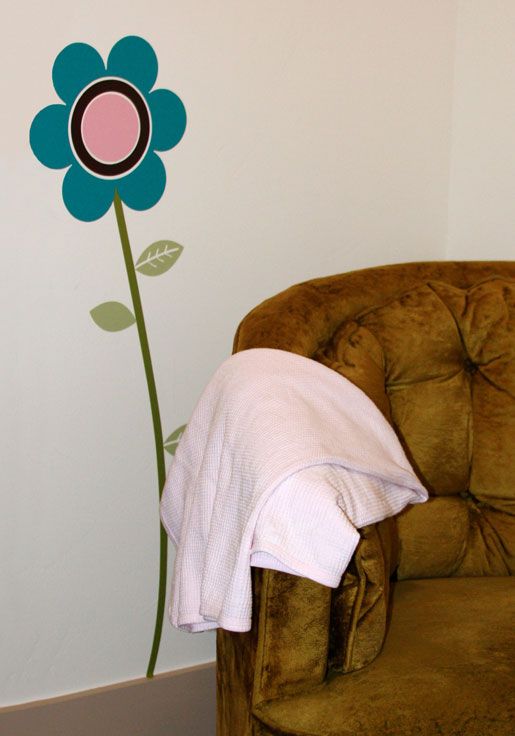
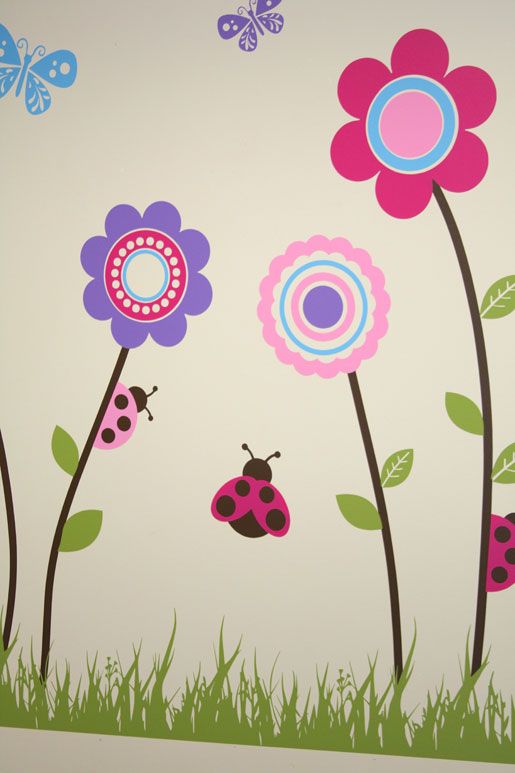
The one I'm going to post today is called 'Tall Scalloped Flowers'.  I designed this for a good friend of mine's baby nursery.  She had super cute bedding that was the inspiration behind it.

   photo IMG_2404_zps6080f73f.jpg

 photo IMG_2394_zps1e92e6da.jpg

 photo IMG_2402_zpsebb22f01.jpg

 photo IMG_2399_zps7fb40f60.jpg

 photo IMG_2425_zps411fea64.jpg

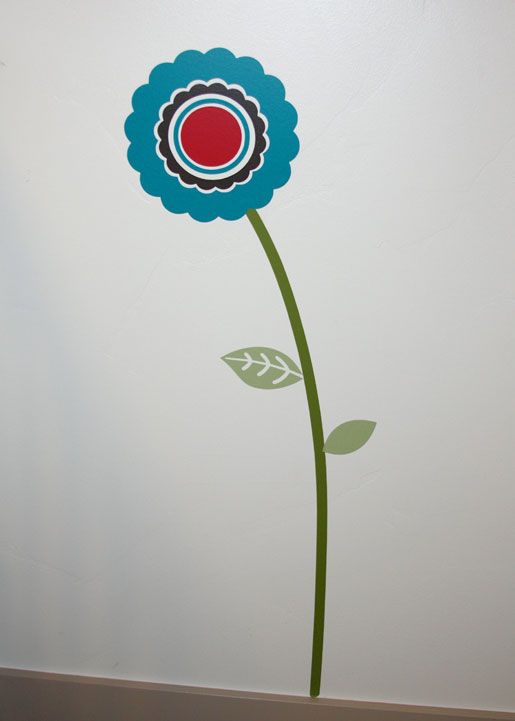
The flowers range in size from 26"-35" tall.

 photo IMG_2420_zpsa143a0f0.jpg

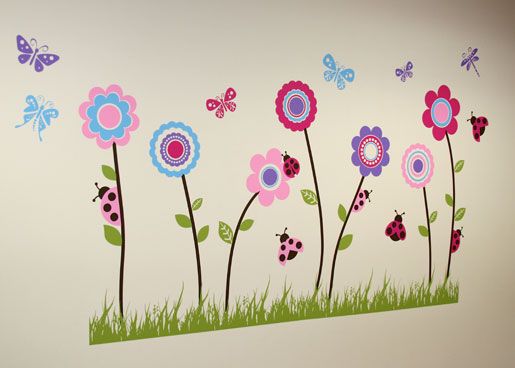
The set comes with 7 flowers.  Your choice of 4 different colors for the flowers and a color for the stem and another color for the leaves.

 photo IMG_2421_zpsa95f5e45.jpg

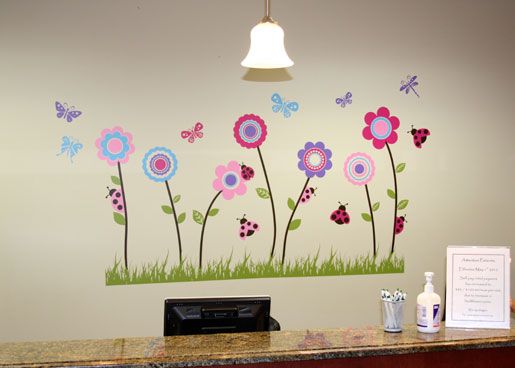
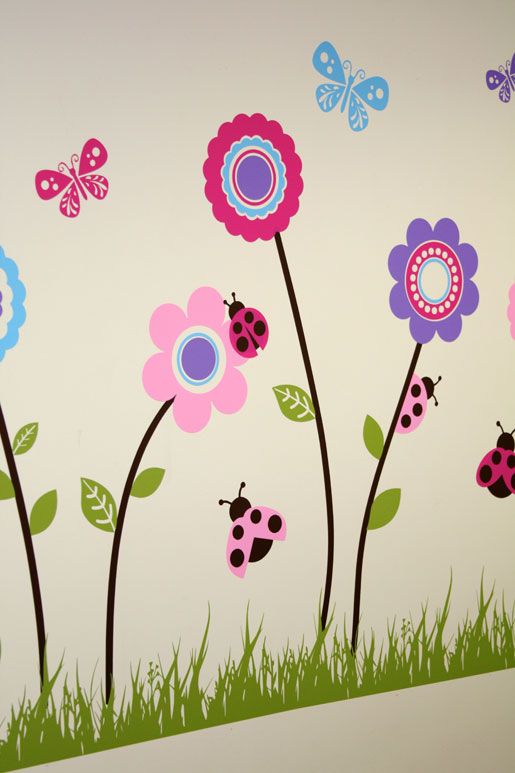
I used the same design in a Doctors Office I help decorate.  We added some grass on the bottom and decorated around the flowers with butterflies and ladybugs.

 photo IMG_1764_zps89d7d379.jpg

 photo IMG_1761_zps613b5e57.jpg

 photo IMG_1766_zpsc5b5653f.jpg

 photo IMG_1772_zps4a6a7f34.jpg

It's always fun to put a little something extra on the doors coming into the office as well. :)

 photo IMG_1776_zps1184275e.jpg

You can order the Tall Scalloped Flowers package HERE.


3.22.2012

Girly Swirls Vinyl Wall Decals

A really good friend of mine has two girls... and since I have 3 boys, I'm ALWAYS dying for a girls room to play with. So, when Wendy told me she wanted some vinyl to match her girls pink, white and black color scheme and their polka dot bedspreads, this is what we came up with...

"Girly Swirls!"

Photobucket

They had this cute magnet board in their room to display all their awesome artwork, so we did two of the Large Swirls, just flipping the second one to make them look different from one another.

Photobucket

I put the vinyl slightly behind the magnet board to make it look like a complete piece of art, the vinyl and the board. If you put the vinyl too far away, it won't look like one piece. Which is the look I was going for.

Photobucket

Each design comes with 3 color choices. 1- Main Color (the swirls and a few of the circle designs 2- Secondary Color #1 (1/2 of the circle designs- the ones listed in Hot Pink) 3- Secondary Color #2 (other 1/2 of the circle designs- the ones listed in White)

The second part of the design is the Corner Swirls. We put one of them in the corner of the bunk beds, and the other on the corner of the closet.

Photobucket

When you order the Girly Swirls Vinyl Wall Decal, it will come with 2 of the Large Swirl and 2 of the Corner Swirl. You will have your choice to have them look the same or 1 of the Large Swirl and 1 of the Corner Swirl to be mirrored.

Photobucket

If you were framing something, say a doorway or window with the corner swirls, we recommend reflecting them. Since we used ours in different areas of the room, we kept them all the same.

Photobucket

The Girly Swirls Vinyl Wall Decals can be found here at my Etsy Shop.

I hope your little girly girls will love these fun circle swirls as much as I do!

2.29.2012

Leprechaun Pot of Gold Treasure Hunt

For Your Saint Patrick's Day party this year, you could do a Treasure Hunt!

Photobucket

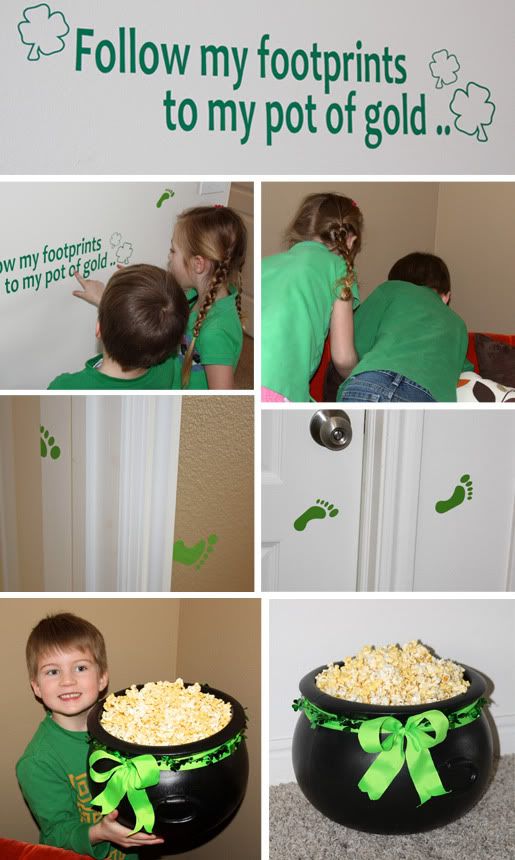
This kit comes with the 23"x6" Leprechaun message and 16 sets of Leprechaun footprints (32 total)! And, the amazing thing about vinyl is you can put it on the ground, couch, ceiling, anywhere you want!

Photobucket

You kids will have so much fun following these footprints they won't need any parental help! My favorite thing about this activity was that even the tiny kids (18 and 24 months) were able to follow the footprints on their own!

Photobucket

Success!!! Also, you could use popcorn in your pot of gold instead of chocolate gold coins, because we all know how expensive those gold coins are! And what kid doesn't LOVE popcorn?

Photobucket

The St. Patrick's Day Party Activity- Treasure Hunk Kit can be found here at my Etsy shop.

2.14.2012

New Item- Traffic Vinyl Wall Decals

My newest addition to my Etsy shop is:

Traffic Vinyl Wall Decals
Found here at my Etsy shop

Photobucket

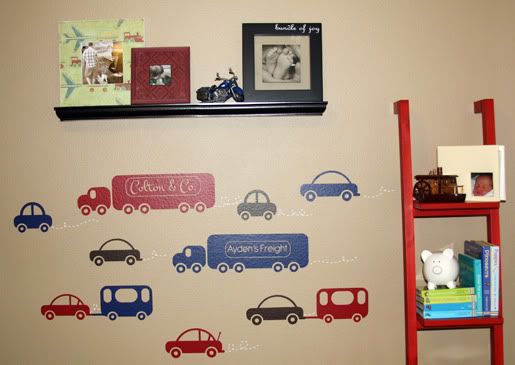
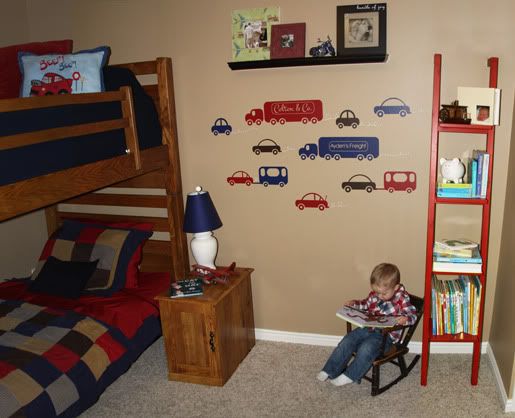
My boys share a room and they LOVE cars! So, they wanted some cars on their wall. This is what I came up with.

Photobucket

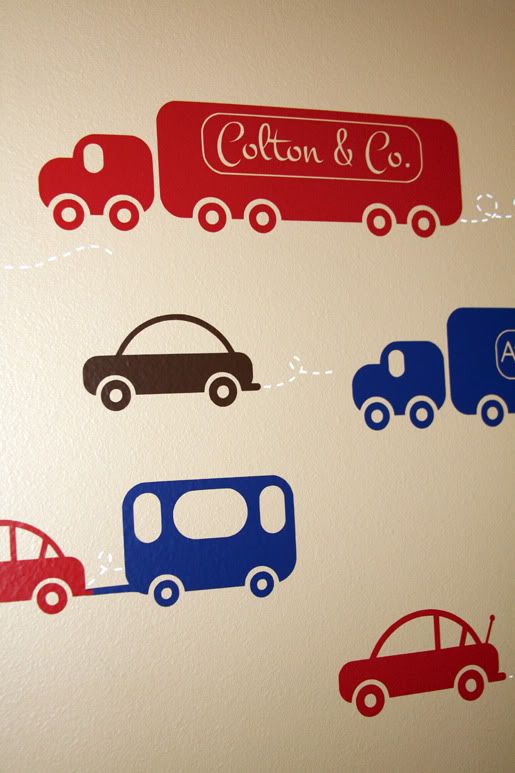
I decided to add a little something custom to make them feel special seeing their names up on the wall. So, I put their names in a made up company name on the side of the semi-trucks.

Photobucket

When you order your own, you will get to customize the sayings on both the semi-trucks.

Some custom ideas could include your child's first or last name:
- Jensen and Son's
- Anderson Plumbing
- Carter's Furniture
- Parker Landscaping
- etc...

Photobucket

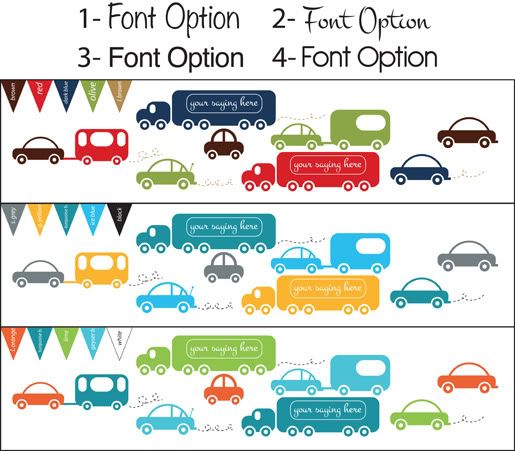
The pictures above used only 4 colors, but when ordering, you will be able to choose up to 5 colors!! You will also be able to choose your own custom fonts for the custom sayings.

When ordering include:
- Up to 5 color options: 1- Cars, 2- Semi, Trailer & Cars, 3- Other Semi, Trailer & Cars, 4- Cars & Trailer, 5- Exhaust.
- Font choice (1-4)


Photobucket

Size Dimensions: W5.5" x H4” to W18.5" x H5”
Pieces: 8 exhaust, 2 semi-trucks, 3 trailers, 9 other cars

Price: only $39.00 for everything!

2.07.2012

Valentines Words of Love

I've been thinking all month of something fun you can do for your special someone for Valentines Day and here is what I came up with...

Words of Love to place around your home!
Photobucket

I designed a package with enough words/sayings to cover an entire home and make them feel loved all day!

Photobucket

The best part about vinyl is you can put in on almost ANY surface and then just peel it off when you are done with it! And it's weather and waterproof, so you can put it in the shower, and all over your loved ones car!

Photobucket

The package also comes with one CUSTOM SAYING for you to be able to customize a personal message between you and your loved one! For my husband, I made "I love you" in Russian, because he speaks Russian. :)

Photobucket

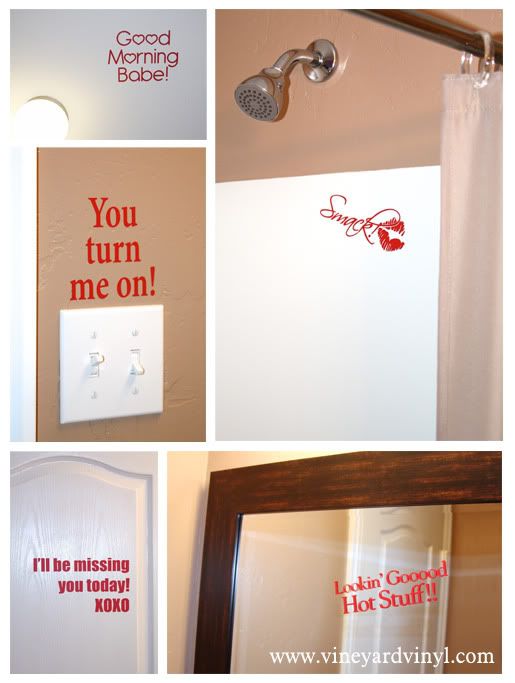
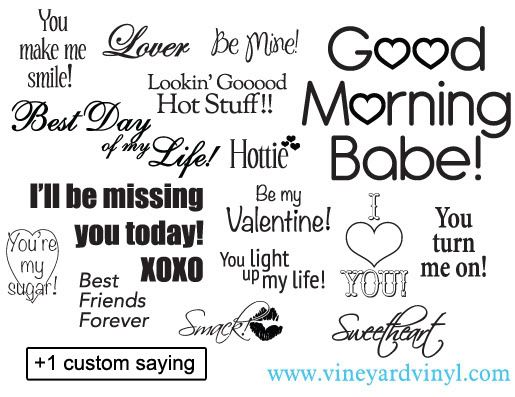
Here is the list of sayings that come in this package. The dimensions range from 5"x2" to 12"x9".

Photobucket

Here are some fun ideas of ways you can use these decals:
-You're my sugar: place on a plate with a special sweet treat, or on your sugar jar where they will get their morning coffee.

- You make me smile: place near your loved ones favorite picture of yourself

- You turn me on: place near a light switch or on an electronic such as a laptop or tv.

- You light up my life: place near or on a lamp or near a light switch.

- I'll be missing you today, XOXO: place on the door as they leave the house.

- Best Day of my Life: place near a picture of the two of you on your wedding day or another special occasion.

- Good Morning Babe: place on the ceiling so this is the first thing they see when they wake up in the morning!

In order to receive your package by Valentine's Day, you will want to order it by THURSDAY, FEB. 9th. You can order it HERE at my Etsy store for only $20.00.

2.01.2012

Vinyl Installation 1

I'm going to be doing a series of blog posts about different techniques for installing vinyl. So, check back to keep yourself informed, then when you are hanging some vinyl of your own, you will be an expert!

VINYL INSTALLATION 1
Hang it Straight and Aligned

Step 1: fold back a small section of the backing on one of the sides (in this case I did the top). This way you can stick the vinyl to the wall, but still be able to remove it and move it around as needed.

Photobucket

Step 2: Use a level to put against a straight line to make sure it is level. If the vinyl is off a bit, put your level down, hold down one of the ends with your finger, peel the rest off the wall and slightly turn it (whichever way you need to go), attach it to the wall again and check it with the level. Repeat as many times as necessary to get it level.

When attaching make sure you follow my dry application instructions and leave it attached, lift up, peel the backing away, and apply rest of vinyl to the wall in a steady swipe of your hand.

*HINT* If you are hanging a saying or design and have no distinct straight line to follow, make one yourself. Use a ruler and mark with a pencil a straight line on top of the masking. Find some part of the design or saying that is a straight line. If using a saying, follow the bottom of one of the lines (see below). Now you have a guide to go off of. You can also make one going vertically as well to follow.
Photobucket

Step 3: Now what can get really tricky is when you need to attach multiple items that need to be not only level, but level with each other. After attaching your first piece, you will do the same step process with the next pieces on the same horizontal plane.

When checking to see if the second is matching up with the first. You will partially attach it (step 1), and place your level on top of the top straight line of each piece. If it will remain touching and level with both pieces, it is ready to attach.

*ALSO* You may also draw a line on your wall with a pencil to follow. You will simply put your level where you want it, make sure it is level and then draw a line following the top of the level. Now you will only need to line your vinyl top up with the line on the wall.

Photobucket

Step 4: Attach the vinyl by keeping the top attached, peeling the backing away and sticking the vinyl down to the wall with a steady swipe of the hand.

Photobucket

Step 5: If you are attaching your next piece on top and want the sides lined up instead of the tops. You will follow make a line straight up from the bottom one with your level like listed in the end of Step 3. You will line up your vinyl (this time my backing is peeled slightly away on the side of the vinyl so that it will stick to the wall. Make sure it is level and as high/low as you would like it.
Step 6: Attach the vinyl by keeping the top attached, peeling the backing away and sticking the vinyl down to the wall with a steady swipe of the hand.

Photobucket

With this particular design shown you will need to do this with 6 different pieces, but depending on your design, you might get to do it a few less :)

Hopefully this helps give you a few ideas on how to make your vinyl straight next time you will be installing it.